Tips and Tricks to Get the Most Out of Your Dental Ultrasonic Cleaner
Dental ultrasonic cleaners have become a popular choice for maintaining oral hygiene and keeping dental instruments clean. These cleaners use high-frequency sound waves to effectively remove debris and bacteria from surfaces. As a versatile and efficient cleaning tool, they’re not only used by dentists but also by individuals who want to keep their dental appliances, such as retainers and mouthguards, in pristine condition. In this blog post, we’ll explore some tips and tricks to help you get the most out of your dental ultrasonic cleaner.

Choose the Right Dental Ultrasonic Cleaner
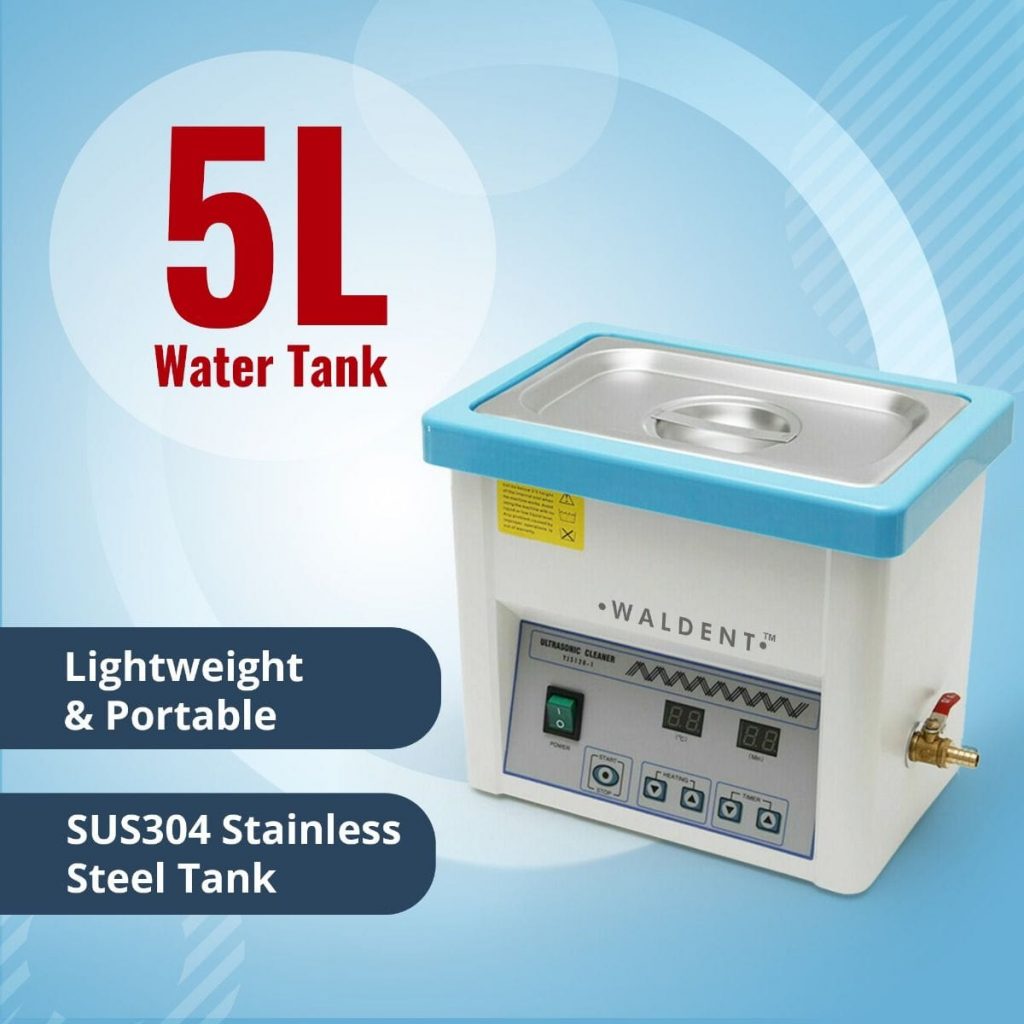
When purchasing a dental ultrasonic cleaner, consider factors such as tank size, ultrasonic frequency, power, and the availability of a built-in heater. Choose a model that best fits your needs and budget. A larger tank size may be necessary if you plan to clean multiple items at once or large dental appliances. Higher ultrasonic frequencies generally provide better cleaning results but may also come at a higher cost.
Use the Correct Cleaning Solution
Dental ultrasonic cleaners are compatible with various cleaning solutions. However, it’s important to use a cleaning solution that is specifically designed for dental applications. These solutions are formulated to be gentle on dental appliances and can effectively break down debris and stains. Avoid using harsh chemicals, such as bleach or ammonia, as they can damage your dental appliances and the ultrasonic cleaner itself.
Prepare Your Items for Cleaning
Before placing your items in the cleaner, rinse them under running water to remove any loose debris. This will help the ultrasonic cleaner work more efficiently and prevent the build-up of debris in the cleaning solution. For heavily soiled items, consider using a soft-bristled toothbrush to gently scrub away stubborn stains or debris before placing them in the cleaner.
Position Your Items Properly
When placing items in the ultrasonic cleaner, ensure that they’re fully submerged in the cleaning solution and aren’t touching each other or the sides of the tank. Overlapping or stacking items may reduce the cleaning efficiency and lead to uneven results. For delicate or intricate items, consider using a mesh basket or tray to hold them securely during the cleaning process.
Set the Cleaning Time and Temperature
Most dental ultrasonic cleaners come with adjustable timers and temperature controls. Refer to the manufacturer’s instructions for recommended cleaning times and temperatures for various dental items. Generally, cleaning times range from 5 to 20 minutes, while temperatures should be between 50 to 60 degrees Celsius (122 to 140 degrees Fahrenheit). However, always check the compatibility of your dental appliances with these settings to prevent any damage.
Rinse Thoroughly After Cleaning
After the cleaning cycle is complete, carefully remove your items from the cleaner and rinse them thoroughly under running water. This step is crucial to remove any remaining cleaning solution residue, which can be harmful if ingested. Once rinsed, allow your dental tools to air dry on a clean towel or use a soft cloth to gently pat them dry.
Maintain Your Dental Ultrasonic Cleaner
Regular maintenance is key to ensuring the longevity and efficiency of your ultrasonic cleaner. After each use, empty the tank and wipe it clean with a soft cloth. Avoid using abrasive cleaners or scrubbing materials that may scratch the tank’s surface. Additionally, check for any buildup of debris or residue on the ultrasonic transducers and clean them as needed.
Conclusion
With proper use and care, a dental ultrasonic cleaner can be an invaluable tool for maintaining the cleanliness and longevity of your dental appliances. By following these tips and tricks, you’ll be able to optimize your cleaning process and enjoy the benefits of a more hygienic and fresh-smelling dental routine.


No Comment