How to Set Up an In-House Clear Aligner System: Complete Guide for Orthodontists
Setting up your own in-house clear aligner system is no longer an unattainable investment limited to large dental chains. Thanks to advancements in intraoral scanning, 3D printing, and CAD/CAM technologies, orthodontists can now produce customized, high-quality aligners at significantly lower costs than outsourcing to commercial labs or relying on earlier-generation systems—all while maintaining full control over treatment workflows and timelines.
This comprehensive guide walks you through the step-by-step process of launching your own aligner setup, including the required equipment, software, and clinical steps—from digital scanning to aligner trimming and packaging. Whether you’re an orthodontist looking to modernize your practice or expand your clinical capabilities, this resource offers everything you need to confidently take the leap into in-office aligner fabrication.
What are Clear Aligners?
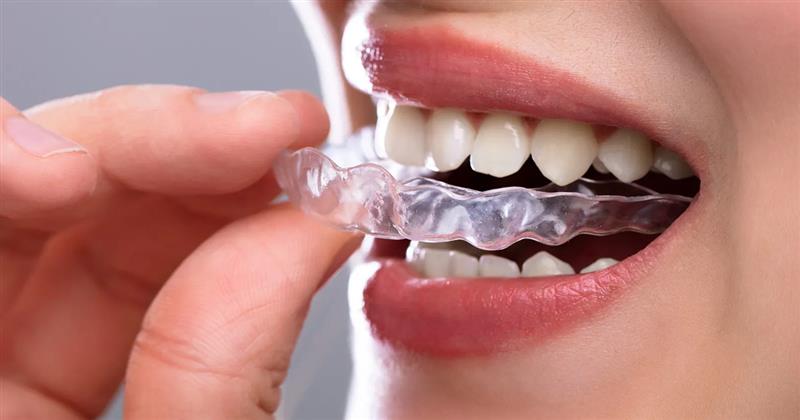
Clear aligners are an alternative to traditional braces. They consist of special plastic materials that render them transparent and barely noticeable during the tooth movement process. Unlike traditional metal braces, clear aligners are removable trays that gradually shift teeth into the desired position.
What are the Requirements and Steps to fabricate an In-office Aligner?
1.Digital Scanning with Intraoral Scanner and Extra oral Images of Facial Aesthetics
Requirements:
Intraoral scanner (2- 4 lakhs)
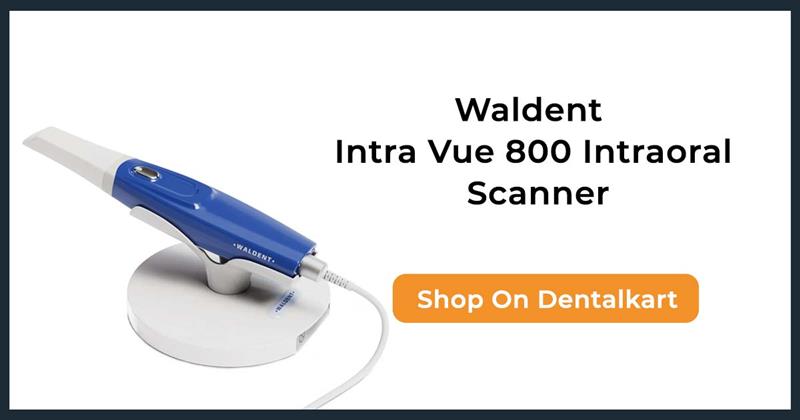
Capture digital impressions of the maxillary and mandibular arches either directly from the patient using an intraoral scanner, or indirectly by scanning conventional analog impressions and plaster models. These scans include comprehensive intraoral measurements, covering the anterior and posterior dentition, along with the labial, buccal, and lingual gingiva adjacent to the teeth.
Digital models obtained through plaster model scanning or direct dental impression scanning offer high accuracy and reliability in assessing parameters such as tooth size, arch width, and Bolton tooth size discrepancies.
In addition to intraoral data, the evaluation of facial soft tissues plays a critical role in orthodontic and maxillofacial diagnosis and treatment planning. A commonly used and cost-effective method involves the use of two-dimensional (2D) digital photographs for assessing facial structure. However, this is increasingly being replaced by three-dimensional (3D) imaging techniques.
A 3D facial scan creates a virtual face, which can integrate with 3D digital dentition models captured by intraoral scanners. Combine these models with 3D radiographic images from CBCT to form a complete 3D orthodontic setup and enable comprehensive virtual patient treatment planning.
2. Transferring the Scan to Appropriate Software
Requirements:
Laptop/ Computer Compatible with the softwares (70k – 1lakh)
CAD Software (if scanner comes without it) (Upto 6 Lakhs)
Basics required for a Computer/Laptop:
| Processor: | Intel i7-11800H up to 4.60 GHz |
| Processor: | 10th Gen Intel Core i5- 10300H | Speed: 2.5 GHz (Base) – 4.5 GHz (Max) | 4 Cores | 8 MB Cache |
| Storage: | SSD – 256 or 512 or 1 TB NVMe PCle Gen4x4 SSD |
| Memory and Storage: | 8 GB RAM DDR4-3200, Upgradable up to 16 GB | 256 GB SSD + 1TB HDD |
| Graphics: | NVIDIA GeForce RTX3060 GDDR6 6GB Dedicated Graphics |
| Graphics: | NVIDIA GeForce GTX1650 4GB GDDR6 Dedicated Graphics |
Modern intraoral scanners now come with integrated software, significantly reducing the overall investment. Previously, purchasing additional software licenses could cost ₹3.5 lakhs or more, but now, buyers mainly pay only for a high-quality intraoral scanner.
The scan output can be in one of the following file formats: STL, OBJ, or PLY. These file types ensure seamless integration with various dental CAD/CAM system software.
Some of the commonly used CAD software platforms in orthodontics and digital dentistry include Meshmixer, 3Shape, Ulab, Orth’Up, SoftSmile, and BlueSkyPlan Orthodontics.
Let us now move forward to explore the treatment planning or digital workflow that becomes possible with the use of these software features.
3. Digital Treatment Planning
The basic digital treatment planning requires the following steps to be completed before printing a perfect model for fabricating an aligner:
a. Automated Segmentations
Most of the programs have an automatic segmentation feature. Artificial Intelligence (AI) algorithms find the gingival border of each tooth, automatically identify and segment the teeth. It will further help in labeling the teeth, and then automatically create a long axis and center groove line.
b. Real-time Simulations
These 3D orthodontic setup software can help in real-time simulations such as intuitive alignment, enabling easy dragging of the teeth to the required position, helping in occlusal contact calculations, and suggesting IPR options wherever required. These can even help in aligning the teeth to a customizable arch shape by adjusting the shape using control points. These simulations, done by the 3D ortho software, create optimized tooth movements and, with thorough adjustments made by skilled orthodontists, suggest the required number of aligners for a patient during the treatment. The orthodontist can thus decide whether to print all of them at once or print the models in stages, depending on the clinical case scenario.
c. Advanced Staging and Sequencing
The software also suggests the staging of a procedure. However, it is up to the orthodontist to decide how to proceed with the planning. Usually, allow only 0.3 mm of movement per stage for each tooth, along with a limited number of tooth movements. Plan whether to move the anterior three teeth all at once or achieve sequential distalization first, then decide on the movement of the other teeth. Note certain limitations: move only six teeth in one stage, or a maximum of ten teeth depending on the software and clinical case.
d. Some other treatment planning options:
These include attachment placements depending on the tooth movement, or customized attachments with adjustable attachment size or gingival tilt to control tooth movement. Secondly, ready-to-print formats such as STL files are often easily readable, and features like printing hollow models or vertical printing with optimized tilt make the virtual setup process smoother, while also saving resin and printing time. Another useful feature available in some advanced software is labeling, which allows the addition of letters and numbers on the models to help identify the patient or specific teeth.
In addition to this, some software also offers automatic pontics for concealing gaps and missing teeth, as well as have features for marking the trim line, among many other features.
4. 3D Printing of the Scan
Requirements:
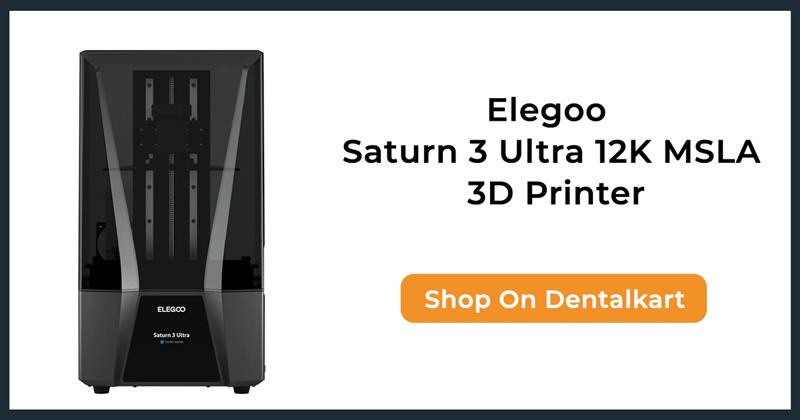
3d Printer (2-10 Lakhs includes free software)
Resin (2- 10k)
Read Also: The Ultimate Guide To 3D Printing in Dentistry in 2025
In the ever-evolving digital dental printing community, laboratories and orthodontists mostly use FDM and SLA printers for aligner fabrication. They can also use other printers, such as Digital Light Processing (DLP) and mSLA (Masked Stereolithography).
The FDM (Fused Deposition Modeling) 3D printer creates multiple layers by extruding suitable thermoplastic material through a heated nozzle. Any material that can be extruded in paste form can be used in this method of 3D printing to create dental master casts. The most commonly used materials for orthodontic applications are Polylactic Acid (PLA) and Acrylonitrile Butadiene Styrene (ABS).
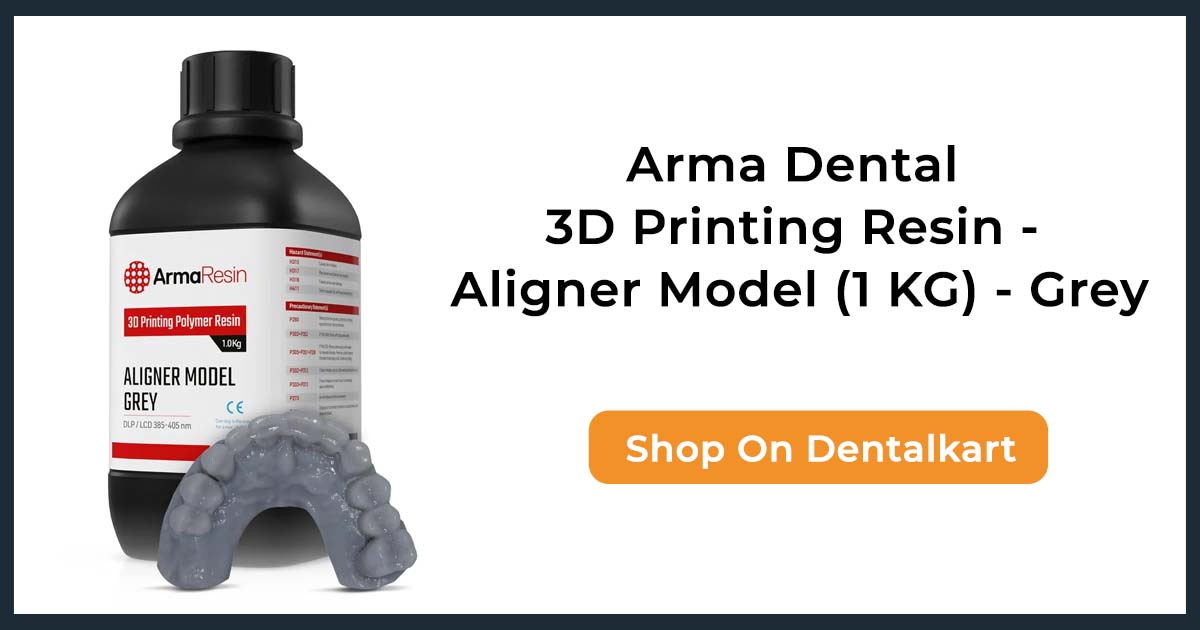
Stereolithography (SLA) 3D printing is the most widely used technology in dentistry, known for producing models with excellent surface finish. It works by selectively light-curing a photopolymer liquid resin in a vat to create 3D objects. Cure the material using light—either laser or UV light. Choose the resin based on the intended use of the model. For example, select a suitable resin if the model will be used for aligner fabrication.
The 3D printer uses an STL file format of the model to print. Set up the necessary armamentarium before starting, and give the printer the command to begin printing.
5.Post Processing Steps
Requirements:
Washing Solvents (1k-15k)
Curing Box (1k – 15K)
- Wash System – Wash the 3D printed models using isopropyl alcohol (IPA) or tripropylene glycol monomethyl ether (TPM). Shake the models and fully submerge them in the solvent for effective cleaning. Typically, two washes are sufficient to achieve optimal results.
- Curing- In many cases, the polymerization reaction may not be fully completed during the printing cycle. Therefore, post-curing with UV light in a UV curing box is necessary to help the material attain its final mechanical and physical properties.
6. Choosing the Right Aligner Material
Requirements:
Aligner Material: (up to 50k Approx.)
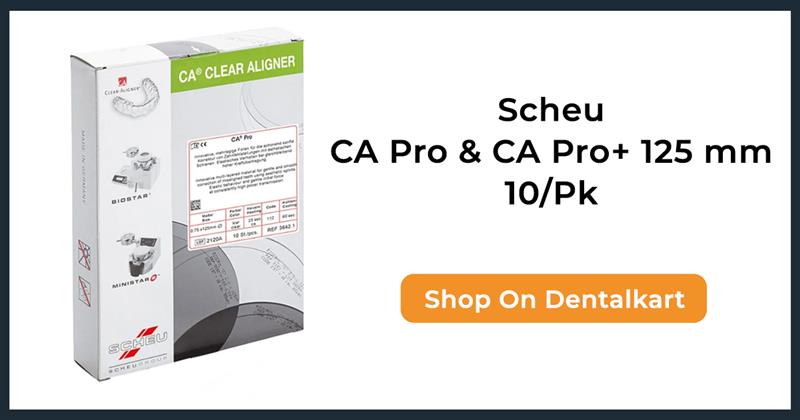
Manufacturers most often use polyethylene terephthalate glycol (PETG) for aligners, although they also use other materials such as polypropylene, polycarbonate, thermoplastic polyurethanes, copolyesters, and others.
Several renowned companies—including Invisalign, Duran, Biolon, Zendura, and Erkadur—have developed their own proprietary aligner materials. These materials are available in various thicknesses and compositions, allowing them to deliver different levels of pressure during treatment.
Ultimately, it is up to the orthodontist’s skill and clinical judgment to select the appropriate material and thickness. Choosing high-quality materials is essential to ensure effective tooth movement and to prevent relapse after treatment—compromising cheaper alternatives can affect long-term results.
7. Choosing the Right Thermoforming Machine and Fabricating an Aligner
Requirements:
Pressure Molding Machine: (10k – 1.5 Lakhs)
A thermoforming machine heats thermoforming materials and shapes them to form a clear aligner.
There are two main types of thermoforming machines:
a. Vacuum Forming Machine – This operates on the principle of air depression. A vacuum is created below the model, drawing the heated plastic material down over it through suction.
b. Pressure Forming Machine – This uses pressurized air above the thermoplastic material to push it down onto the model. In some cases, steel granules partially coat the model, limiting thermoforming to the uncovered areas.
While vacuum forming machines are less commonly recommended due to the limited pressure they exert, the choice also depends on the manufacturer’s recommendations and the type of thermoforming material being used.
For optimal aligner fabrication, the aligner must fit tightly over the model to effectively transfer that fit to the patient’s teeth and deliver the correct amount of force. Pressure-forming machines are generally more suitable for this purpose due to their ability to produce a more precise and consistent fit.
8. Aligner Trimming and Finishing:
Requirements
Aligner Cutting instruments and polishing consumables (10k)
After thermoforming, the aligner is first cut on the 3D printed model using a chisel and then carefully removed to avoid any deformation. The rough aligner is then trimmed with curved scissors, and the edges are polished to eliminate any sharp areas that could cause discomfort to the patient.
However, newer technologies now offer laser trimming machines, which can automatically cut thermoformed aligners in less than 15 seconds. These machines eliminate the need for manual cutting and polishing, offering a faster, more precise, and consistent finish.
9. Aligner Packaging
Requirements:
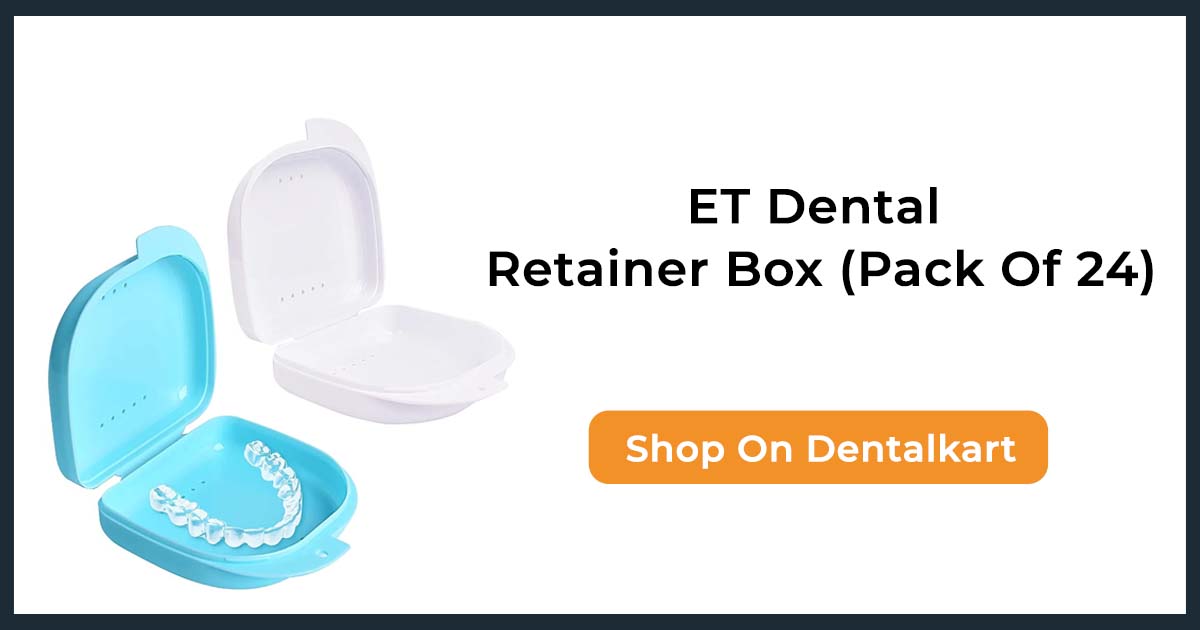
Aligner Box and logo customizations(25K)
Packaging and labeling are often overlooked steps by orthodontists, yet they play a crucial role in branding and professionalism. Using custom aligner boxes or high-quality zip-lock bags with your clinic’s logo and personalized labels adds a branded and professional touch to your services.
Not only does this enhance the patient’s experience, but it also serves as a subtle yet effective way to promote your practice and create a lasting impression.
Price Breakdown of all the Essentials Required Stepwise:
| Requirements | Estimated Cost (INR) |
|---|---|
| Intraoral scanner | (2- 4 lakhs) |
| Laptop/ Computer Compatible with the softwares | (70k – 1lakh) |
| CAD Software (if scanner comes without it) | (up to 6 lakhs) |
| 3d Printer | (2-10 Lakhs includes free software) |
| Resin | (2k- 10k) |
| Washing Solvents | (1k-15k) |
| Curing Box | (1k – 15K) |
| Aligner Material | (up to 50k Approx.) |
| Pressure Molding Machine | (10k – 1.5 lakhs) |
| Aligner Cutting instruments and polishing consumables | (10k) |
| Aligner Box and logo customizations- bulk | (25K) |
| Total | 7 Lakhs – 24 Lakhs |
Conclusion:
The ability to fabricate clear aligners within your own clinic has redefined the way modern orthodontics is practiced. By integrating digital scanning, treatment planning software, 3D printing, and thermoforming technology, orthodontists can now deliver highly personalized, efficient, and accurate treatment—all while reducing dependency on third-party labs and minimizing delays.
What was once considered a high-end, outsourced service is now a streamlined, achievable in-clinic workflow. The upfront investment is offset by long-term savings, better clinical control, and a significantly enhanced patient experience.
If you’re ready to take this step forward, most of the equipment and materials outlined in this guide are readily available on Dentalkart—from scanners and printers to aligner materials and packaging options, all in one place from trusted dental brands.
With the right setup and clinical expertise, you’re not just adopting technology—you’re delivering orthodontic care on your terms, with precision and professionalism that patients will notice.
Dr. Vandana Tanwar and Dr. Nida Nayyer


No Comment